
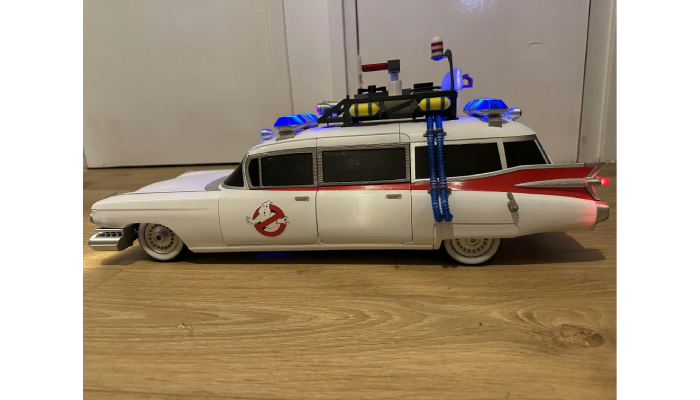
For fans of the Ghostbusters franchise, the iconic siren sound is as synonymous with ghost hunting as proton packs and Ecto-1. If you’re looking to add a unique and fun twist to your vehicle, installing a Ghostbusters siren for your car could be a perfect upgrade. Whether you’re cruising around at a fan event or just showing off your love for this legendary movie, a Ghostbusters siren will make your car stand out.
In this guide, we’ll walk you through how to install a Ghostbusters siren in your vehicle, from choosing the right siren to ensuring safe and effective installation.
Ghostbusters Siren
The Ghostbusters siren is a distinct sound made famous by the 1984 movie Ghostbusters, featuring a wailing alarm sound that signals the arrival of the Ghostbusters. The siren was primarily used on the iconic Ecto-1, their modified 1959 Cadillac ambulance. The sound itself is a combination of an electronic siren with some dramatic, exaggerated wails, making it a perfect fit for anyone wanting to make a bold statement.
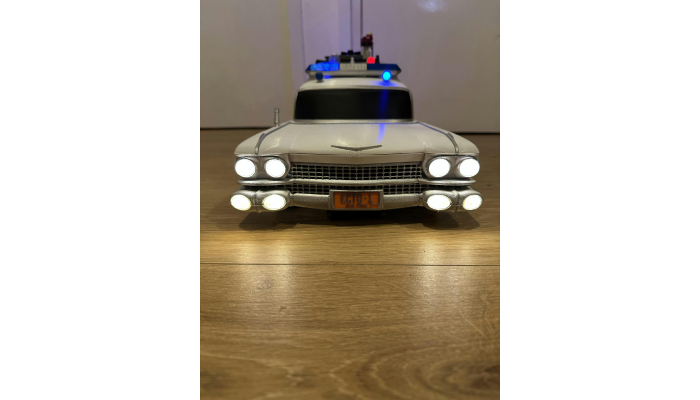
When looking for a Ghostbusters siren for car, you’ll find a variety of options available, from standalone sirens to more complex siren-and-light kits that replicate the full Ecto-1 experience. These sirens are typically electric and powered through your vehicle’s battery.
Choosing the Right Ghostbusters Siren for Your Car
Before diving into installation, it’s important to choose the right siren system. Here are a few things to consider:
Siren Type:
- Standalone Siren: These are the simplest option, consisting only of the siren itself. These units usually have a few buttons or a remote to activate the sound and might not come with lights or additional features.
- Siren & Light Kit: For those who want the full Ghostbusters experience, many kits come with both a siren and lights that replicate the Ecto-1’s appearance. These kits include siren sounds, strobe lights, and sometimes even light bars that flash in sync with the siren.
Power Source:
Most Ghostbusters sirens for cars operate off your vehicle’s 12V electrical system, which is the standard for most cars. Be sure the siren you choose is compatible with your vehicle’s electrical system.
Size and Mounting:
Consider the size of the siren, especially if you’re installing a more elaborate kit. The siren needs to be mounted securely, and the components should fit comfortably within your car’s available space. Also, consider the placement for visibility and accessibility of any light components, such as on the roof or near the vehicle’s grill.
What You’ll Need for Installation?
To install the Ghostbusters siren in your vehicle, you’ll need a few tools and supplies:
- Ghostbusters siren unit (or siren & light kit)
- 12V power wire
- Power relay
- Switch or remote control (if not included with the kit)
- Screwdriver
- Drill (optional, depending on mounting method)
- Wire stripper
- Electrical tape or connectors
- Mounting brackets or screws (depending on the system)
- Fuse (for safety)
Step-by-Step Installation Guide
Now that you have everything you need, it’s time to get to work. Follow these steps to install your Ghostbusters siren for car:
Step 1: Choose Your Mounting Location
The first step is to decide where you want to mount the siren and any light components. If you’re installing a light kit as well, you’ll need to pick spots where the siren and lights will be both visible and secure. Common locations for the siren and lights are:
- On the front grill: This gives your vehicle an Ecto-1 vibe and makes the siren visible to other drivers.
- Roof of the car: If you’re adding lights, mounting them to the roof may give your vehicle a more authentic look.
- Under the vehicle: For a stealthier installation, you could mount the siren under the vehicle, though it may be less visible.
Make sure to mark the locations for mounting before drilling any holes.
Step 2: Disconnect the Vehicle’s Battery
Safety is key when working with electrical components in your car. Disconnect the car battery to avoid any electrical issues or shorts during installation.
Step 3: Mount the Siren
If you’re installing a standalone siren, this step will usually involve securing the siren to a pre-marked location using the mounting brackets and screws. Tighten the screws securely, ensuring the siren doesn’t move or vibrate during operation.
For light kits, attach the light components in their respective locations, ensuring that the lights are properly secured and will not come loose while driving.
Step 4: Wiring the Siren
Once the siren is securely in place, it’s time to connect the wiring. Here’s a general guideline:
- Find the power wire: Connect the power wire to your vehicle’s 12V power source. You may need to tap into the vehicle’s fuse box or battery.
- Connect the ground wire: Attach the ground wire to a metal part of the vehicle’s chassis. This ensures the siren has a proper ground connection.
- Install the relay: Most kits will require a relay to ensure that the siren receives the right amount of power. The relay helps prevent electrical overloads.
- Fuse for protection: It’s important to place a fuse between the power supply and the siren to avoid damage to your car’s electrical system.
Use a wire stripper to carefully strip the wire ends before connecting them. Then, secure the connections with electrical tape or connectors to prevent them from loosening over time.
Step 5: Mount the Switch or Remote Control
If your siren comes with a switch, install it where it is easily accessible to you, such as near the dashboard or in the center console. For a remote-controlled siren, ensure the receiver is installed in a location where it can easily receive the signal from the remote. Mount the switch securely and connect it to the siren according to the manufacturer’s instructions.
Step 6: Test the Siren and Lights
Once everything is wired, and the switch is in place, reconnect your car’s battery. Before driving anywhere, test the siren and lights to make sure everything works as expected. Turn on the siren, check the volume, and ensure the light components flash in sync with the siren. Adjust any settings or connections as necessary.
Legal Considerations and Safety
Before you start flashing that Ghostbusters siren and hitting the road, it’s important to be aware of the legal implications. In many locations, it’s illegal to use sirens or emergency lights unless you are an emergency vehicle or authorized personnel. The siren may be considered a nuisance or distraction if used improperly. Always check local laws before using your Ghostbusters siren in public spaces.
For safety, make sure the siren and light components are securely mounted and that no wires are exposed, as this could cause a short or malfunction.
Conclusion
Installing a Ghostbusters siren for your car can be a fun and exciting project for any Ghostbusters fan. Whether you choose a simple siren or a full light-and-siren kit, the installation process can be straightforward with the right tools and careful attention to detail. Just be sure to follow the instructions, use the correct materials, and be aware of any legal regulations in your area. Once you’re finished, you’ll have a car that’s truly one-of-a-kind, ready to take on the ghost-hunting world!
Enjoy the excitement of your newly installed Ghostbusters siren and show off your love for the iconic franchise in a loud and fun way.
Resource URL:
https://evandesigns.com/products/ghostbusters-ecto-siren
https://en.wikipedia.org/wiki/Ectomobile

Hello, I’m Charity Morris, an adept writer based in the bustling city of Seattle, United States. With a diverse skill set encompassing business, technology, and more, I navigate the intricacies of innovation with finesse. Join me on a journey through insightful narratives that demystify complex subjects and make the world of business and tech accessible to all.